Monday, May 23, 2011

1st Batch in the Fermenter.

    Well Saturday night I decided to brew up my Summer Wheat, taking the electric brewery on it's maiden voyage.  Everything went great.  I hit all my numbers and the sparge flowed smoothly.  The grain bill was half white wheat so I tossed in a couple of scoops of rice hulls to help with sparge flow.  Both pumps worked flawlessly and I had no priming issues at all.  The RIMS tube maintained my mash temp perfectly and I was able to chill the wort down to 68f in less than 30 minutes with the chillus convolutus.
    I have to say I am in love with electric brewing, no loud ass propane jet burners blasting or fear of asphyxiation, just the hum of the pumps and whatever music I am brewing to.


Mashing with RIMS Tube

Boiling 17.5 gallons of wort

Next is to set up my temperature controlled fermentation chamber.  This way I can pump from the brew kettle directly into the fermenter since the fermentation chamber will be sitting right next to the brew stand.  I am sick of fermenting in the basement, that trip up and down the stairs is getting old.

Cheers,
Ross

Friday, May 20, 2011

Almost ready for the Maiden Voyage.

Well the new wire (8-3 w ground) has been run.  The control panel and gfci spa panel have been mounted.  All the kettles have been fitted and sight glasses have been calibrated.  All the elements have been wired.  RIMS tube and wort pump have been wired and mounted.  I have done several wet runs and every thing works awesome.  I am loving the bsc-460.  Here are a couple of pics before mounting the RIMS Tube.


Now all I have left to do is wire the water pump, mount it to the cart, and make a couple more hoses.
I am hoping to brew by no later then next weekend.
I am going to brew my Summer Wheat.  It is a nice light American wheat beer so if I get any scorching it will stick out in this beer.

Cheers,
Ross

Tuesday, April 19, 2011

Finished Controller

Here are a few pics of the finished controller. 


Up next is to run some 8-3 with ground from my electrical service panel to the spa panel with gfci breaker that the controller will be mounted next to.  Then I need to run some cat5 cable out to the brewery.

Cheers,
Ross

Sunday, March 27, 2011

Control Panel Build

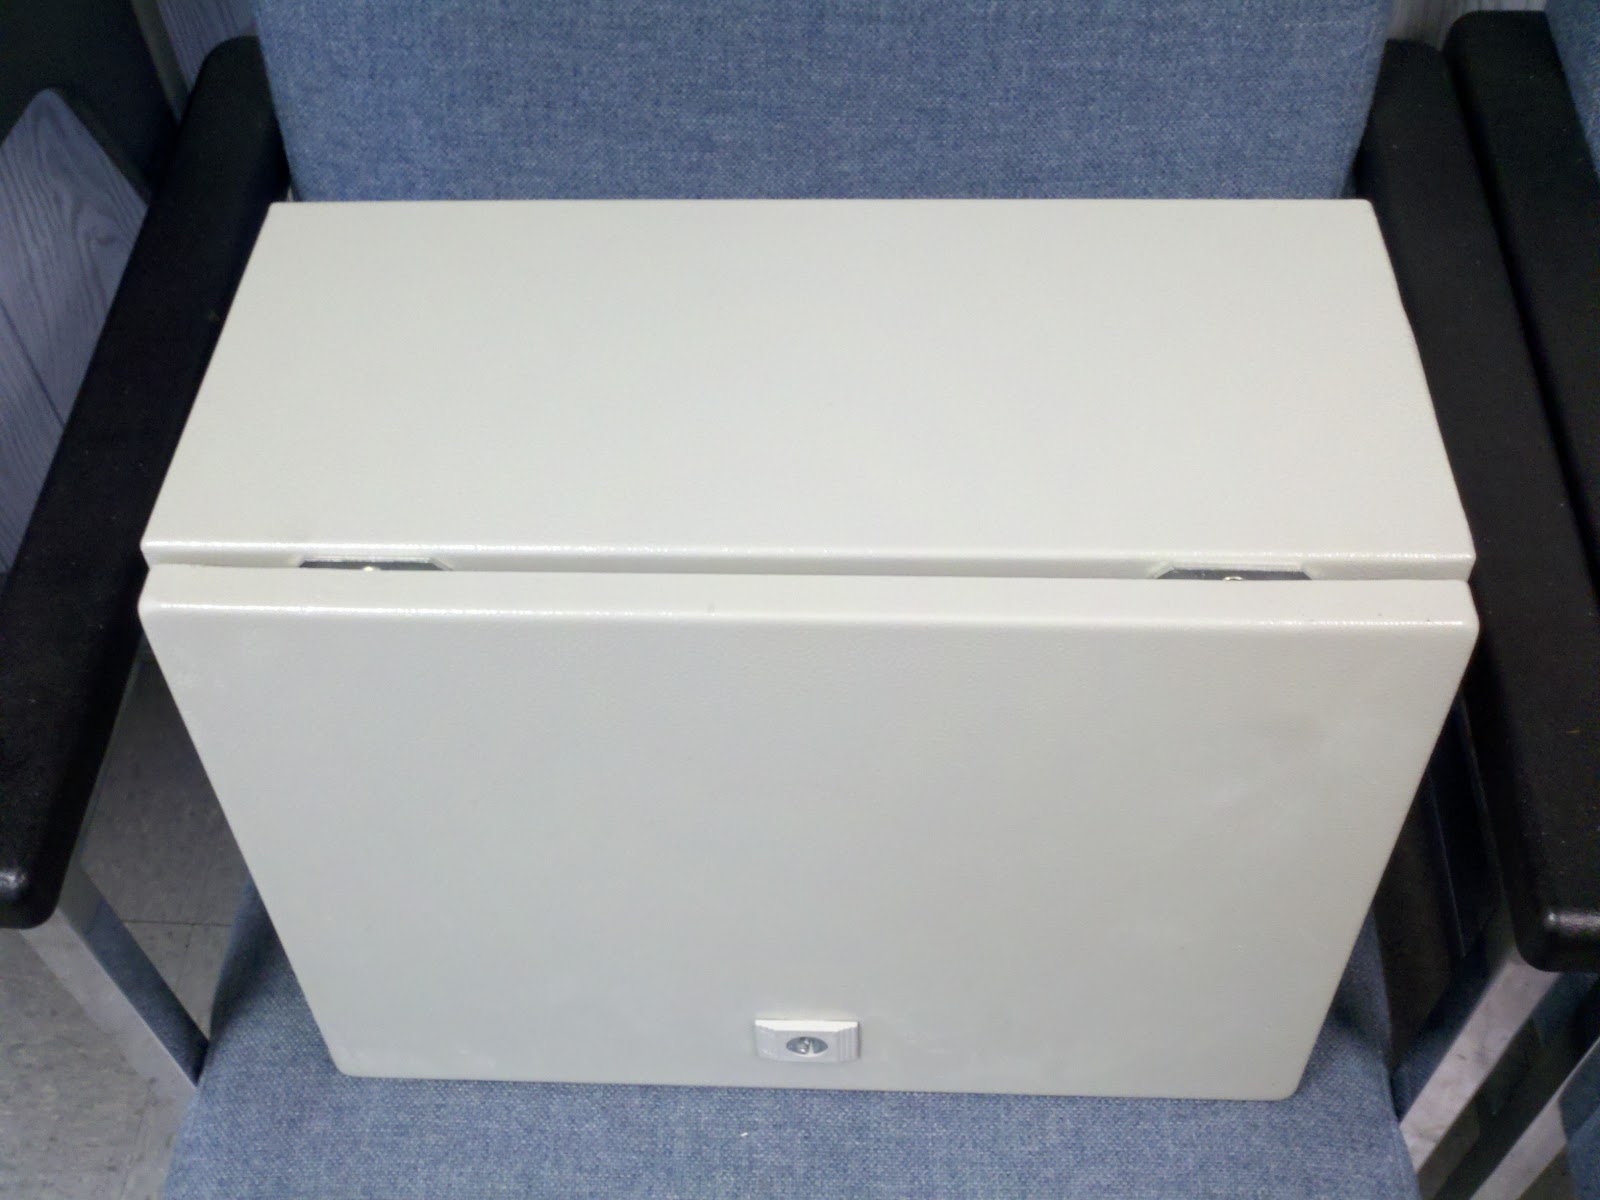
I have begun working on the control panel.  First thing I did was layout all of the holes for switches, heat-sinks, twist lock outlet's, & temp probe cables.  I modeled up my box in 3D and included my 2D hole locations.  This allowed me to create nc programs directly from my CAD data.  The control box needed to be machined on 4 sides.  Here is a pic of the control box before machining.  This electrical enclosure is 16"x12"x8"  and was purchased on ebay.

 
The first side I machined was the front door.  The front panel is where all the switches for the elements and pumps, an e-stop button, a system start button, and a selector switch for selecting between the HLT and Brew Kettle elements.


Next I machined the top of the enclosure.  This is where the heat sinks for the SSR's will go.  I purchased 2 large aluminum heat sinks from ebay.  I could not fit both heat sinks on the top so  I had to shorten one of the heat sinks by one SSR station.  This involved cutting and drilling and tapping new holes in the heat sink.


The bottom is where I machined holes for the twist lock outlets.  This is where the pumps and elements will plug into.


Last is the left end.  This is where the temp probes will enter the control panel.


Here is a pic with all of the switches.


Here is one with the heat sinks installed.


Here is a pic of all the pc's for the inside of the control panel.


Now back to work.
Cheers ,
Ross


Saturday, March 26, 2011

Pots are on the Stand!

The pots are back on the stand and mocked up with fittings.  Next I will be cleaning and polishing them with Bar Keepers Friend.  Work has begun on the control panel.  I will post those pics shortly.


Cheers,
Ross

Thursday, March 3, 2011

In With the New....Let the Build Begin!!

I have most of the components collected for the brewery build.  The pots have been drilled and welded.  The welds are being cleaned up at the moment.  Here is a picture of the drilled pots on the brew cart.

Top left is the Mash Tun, Top right is the Brew Kettle, and Bottom middle is the HLT.

Cheers,
Ross

Out With the Old!!

Here is Willows Brewery's previous equipment:

15gallon Stainless Steel Custom Brew Kettle


15gallon Stainless Steel Custom HLT


15gallon Ice Cube Custom Mash Tun with custom copper manifold

Chugger Pump with stainless steel head

50' Copper Immersion Chiller 1/2" diameter